How to move a WordPress Website from a subdomain
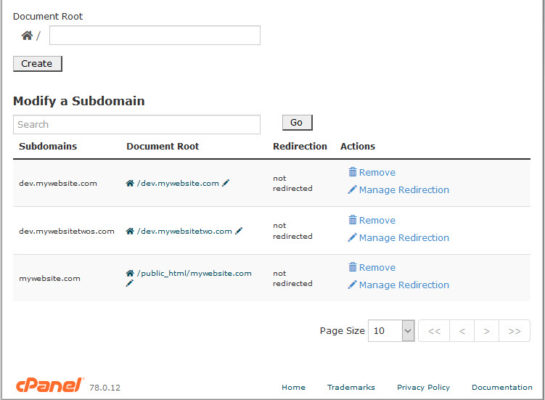
You might have an existing website on your primary domain and have setup your new WordPress website on a subdomain such as dev.mywebsite.com.
I find using a subdomain is a great way to work on a development/staging website without having to setup a local host like MMAP.
This tutorial is going to cover websites running Linux/cPanel based hosting. The process is the same for other Linux hosting environments such as Plesk and Hepsia, although navigation to certain areas might be different.
Please Note: This guide assumes that your main and dev website are on the same server.
Step 1: Backup your files and database(s).
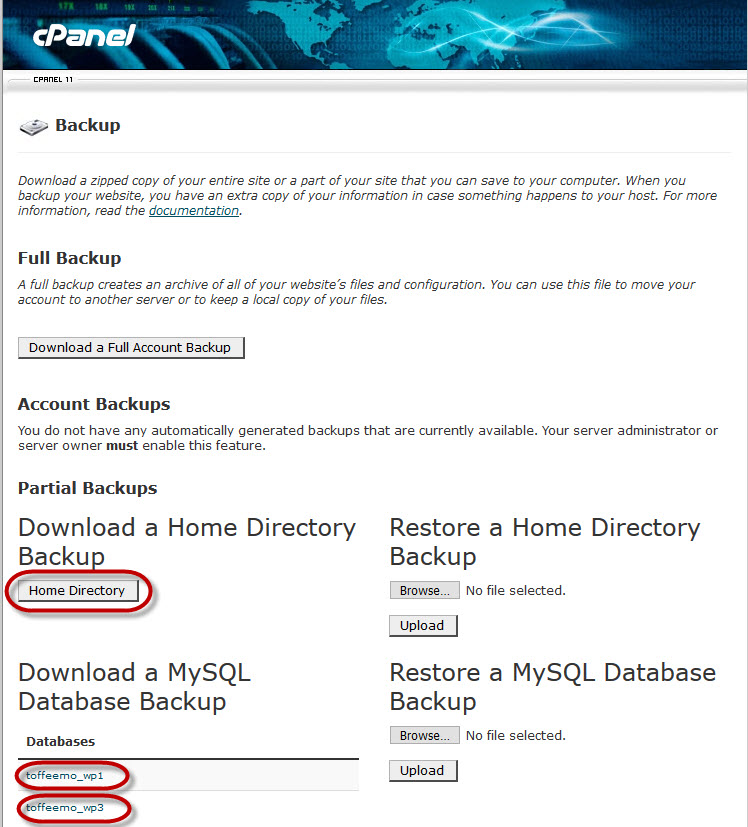
From your cPanel select “Backup” and as above, backup the Home Directory and any MySQL Databases you have. For this example launch our “toffeemo_wp1” is the live website and “toffeemo_wp2” is the dev version. Its important to back up both.
I can’t stress this enough, there is nothing more frustrating that loosing hours of work because you forgot to take a backup. Even though I have perfected a process over the last few years I still backup before a launch/move/making edits. You don’t need to have SQL experience to move a WordPress Website from a subdomain. However, SQL Databases can be fragile at times, you might connect the wrong website to the wrong instance, or make an incorrect bulk edit. This will wreak havoc on your tables.
Step 2: Preparing links before cutting across.
I prefer to try and get all page links working prior to launching the website.
This means I go through each page of the website, and check that any internal links are pointing to the www.mywebsite.com live version instead of the dev.mywebsite.com version.
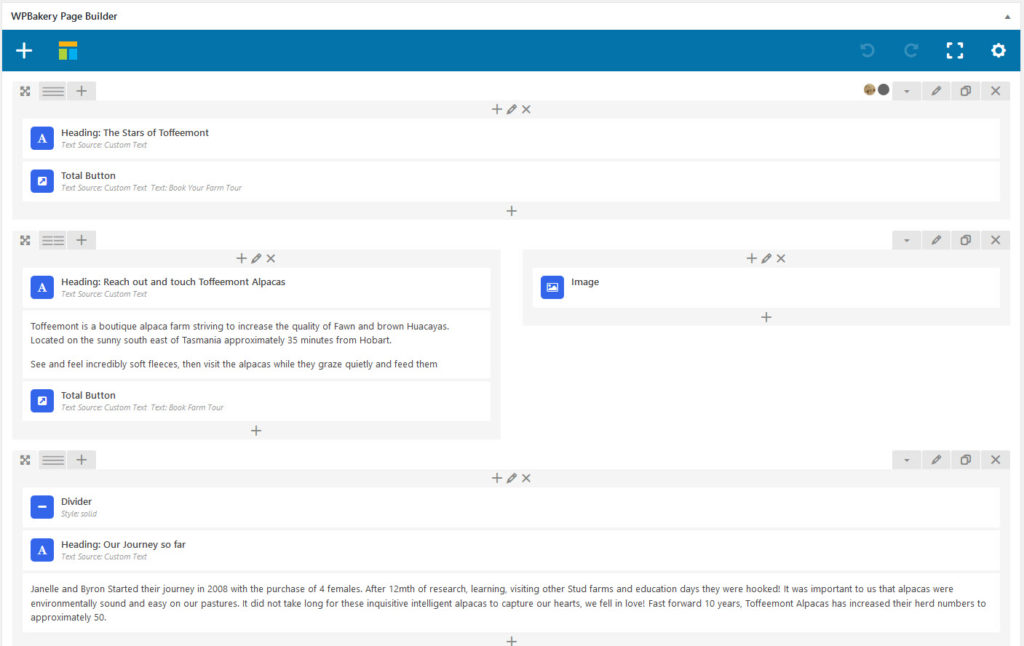
This particular website I am launching uses WP Bakery Page Builder. Clicking each element on page builder and changing the link would be very time consuming. Fear not, I have a shortcut!
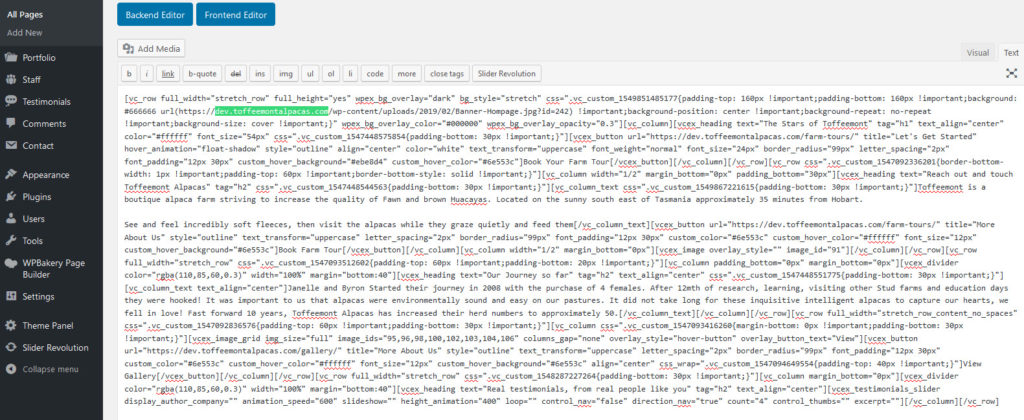
Change the view from WP Bakery Page Builder’s backend editor to Classic Mode and then to the plain text view. If you are not using page builder then you only need to change your editors view to plain text view.
From here, assuming you are using a windows PC, hit “Crtl +F” to open the find on page function of your web browser. Type in your dev url (ours is dev.toffeemontalpacas.com). This will show you how many URL’s need updating on each page.
1. Changing you links the manual way
Every time you find a dev link in your plain text / page source code, replace it with what your live URL is going to be. If your website has a few pages and links it may take as little as 5 mins to make the updates.
2. Semi-manual method of updating links
My second method involves using the find and replace function of a text editor. My recommendation being one of the most popular source code editors since 2003 – Notepad++. (Download Here)
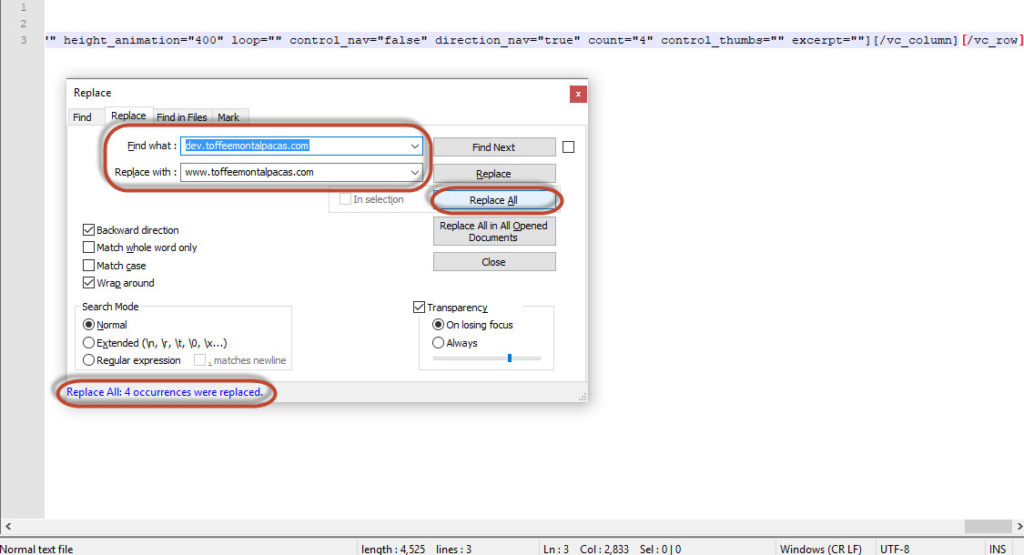
First, from plain text view, copy and paste your page source into Notepad ++. Once again, hit Ctrl+F, It has a handy find and replace feature with the option of “replace all”. It doesn’t matter if you have 3 links or 100, this function will update all of them at once. When done, just copy and paste your updated page source back into the WordPress plain text editor, and update the page.
This helps speed up the process, especially if you have a lot of links on one page.
3. The automatic way of updating links
Sometimes this is not possible as you might have 100 pages to go through and prefer to use a plugin/tool like “Go Live Update URLS“
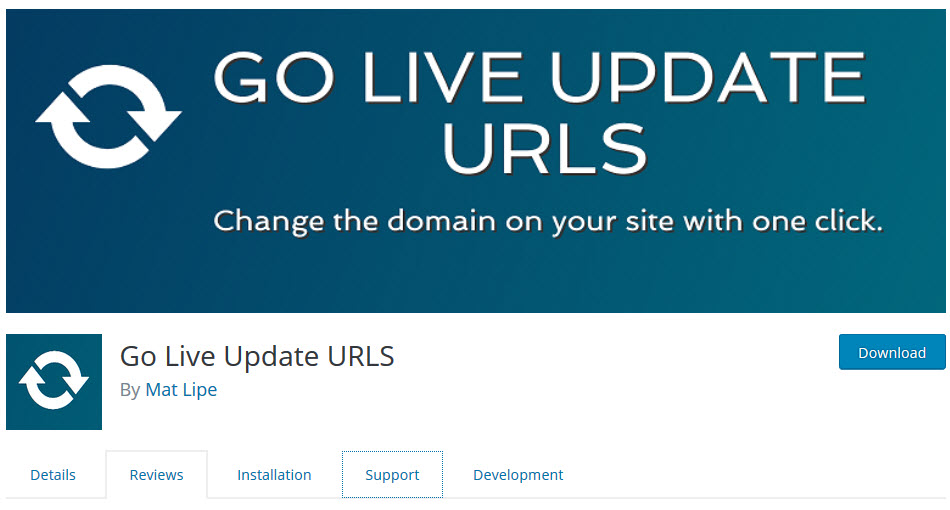
This brilliant plugin will automatically update all the URL’s for you. From your WordPress dashboard, navigate to Plugins>Add New then search for ”
Go Live Update URLS“.
Once installed, go to Tools>Go Live.
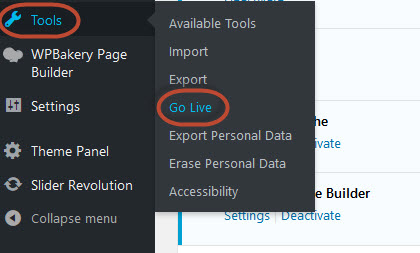
From the next screen enter your current url and the new url. Be sure to include the trailing slash at the end of your domain or your attachments/permalinks can break. eg: https://www.mysite.com/ as opposed to https://www.mysite.com
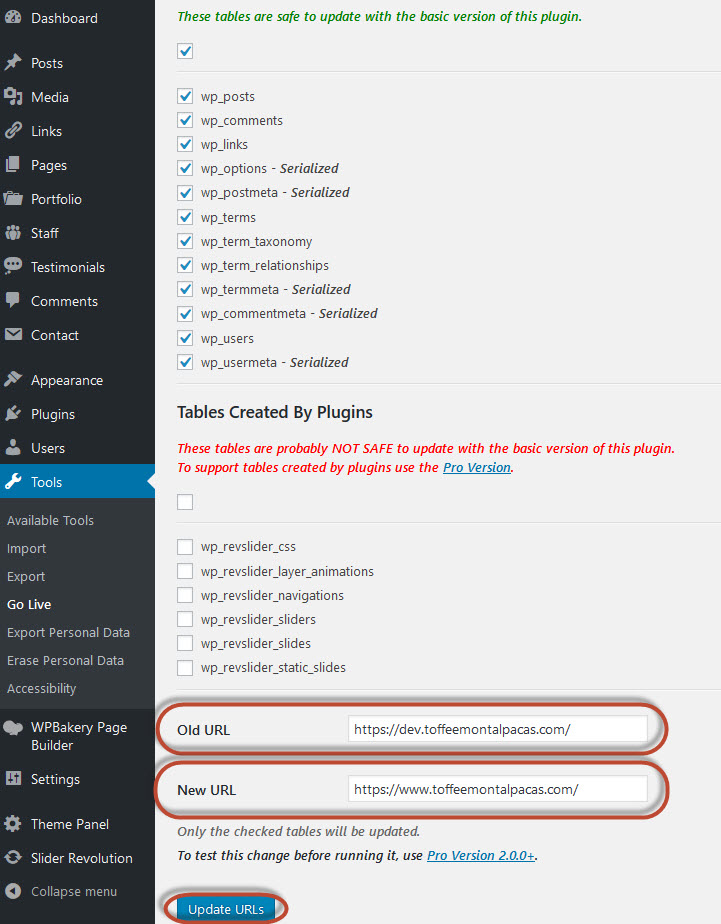
Once you have hit “update URLS” it’s complete.
Step 3: Updating the WordPress Address (URL)
Now that our URL’s are out of the way. From the WordPress dashboard navigate to Settings>General.
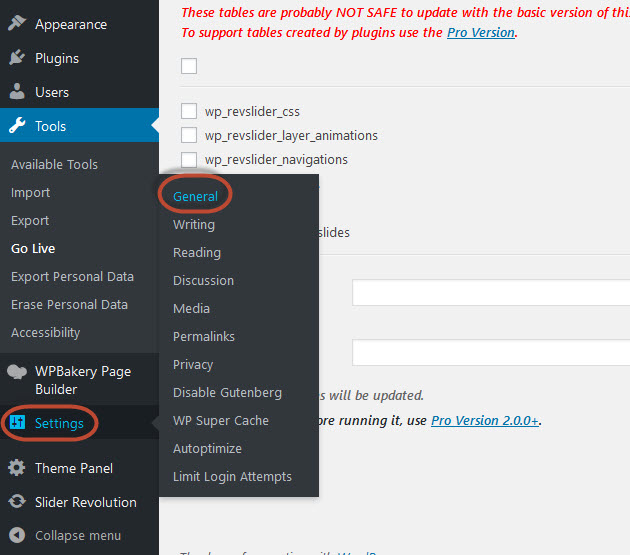
On the next screen we change our WordPress address and Site Address to our new domain name.
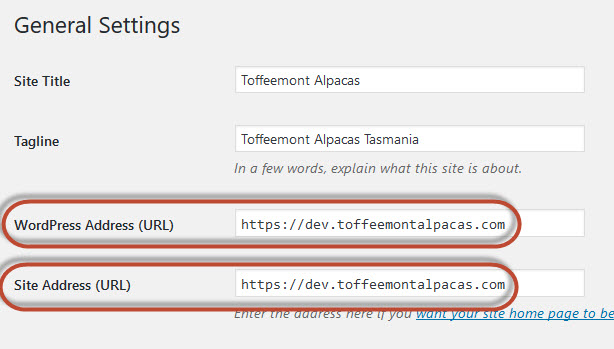
Note: On this screen we do not need to include the trailing slash like we did before.
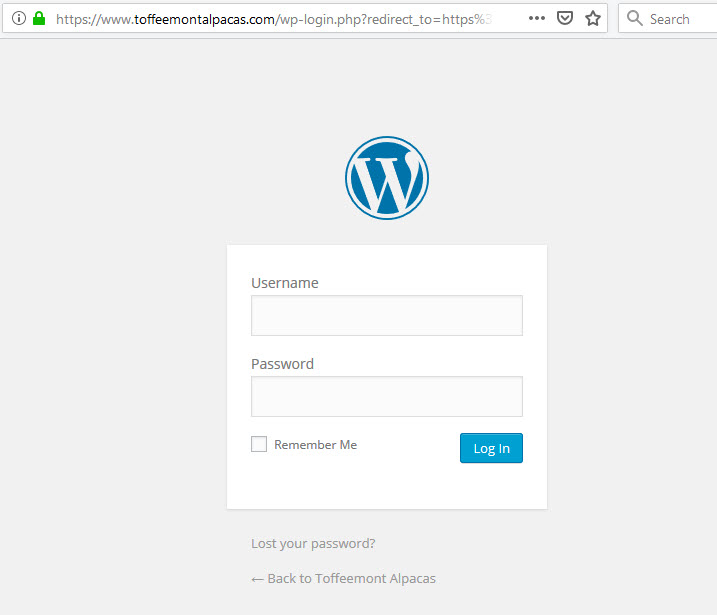
Once the settings have been saved, you will be automatically logged out of WordPress. It will try to redirect to the new URL, depending on what is installed in your home directory you will get redirected to your current website.
Step 4: The new website launch
Now we are ready to move our dev website files to the home directory, essentially launching your new WordPress website.
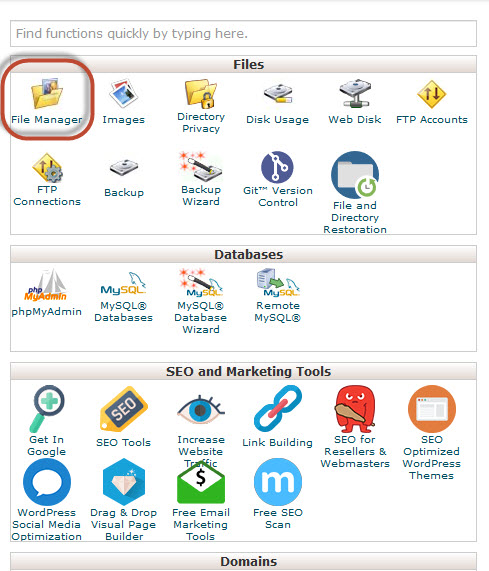
Back to cPanel we now go into file manager.
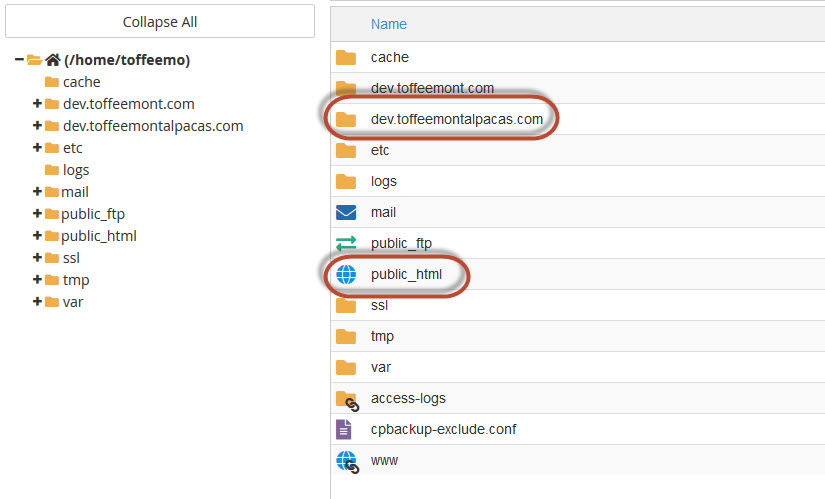
There are two main directories here. 1. Public HTML – This is your live website. 2. Your sub domain folder where your ready to launch website is.
Next, I like to backup the current home directory. It’s not 100% required as we took a backup earlier. But, in the event something goes wrong we can easily clear the Public HTML folder, extract the backup and the old website is up and running in seconds.
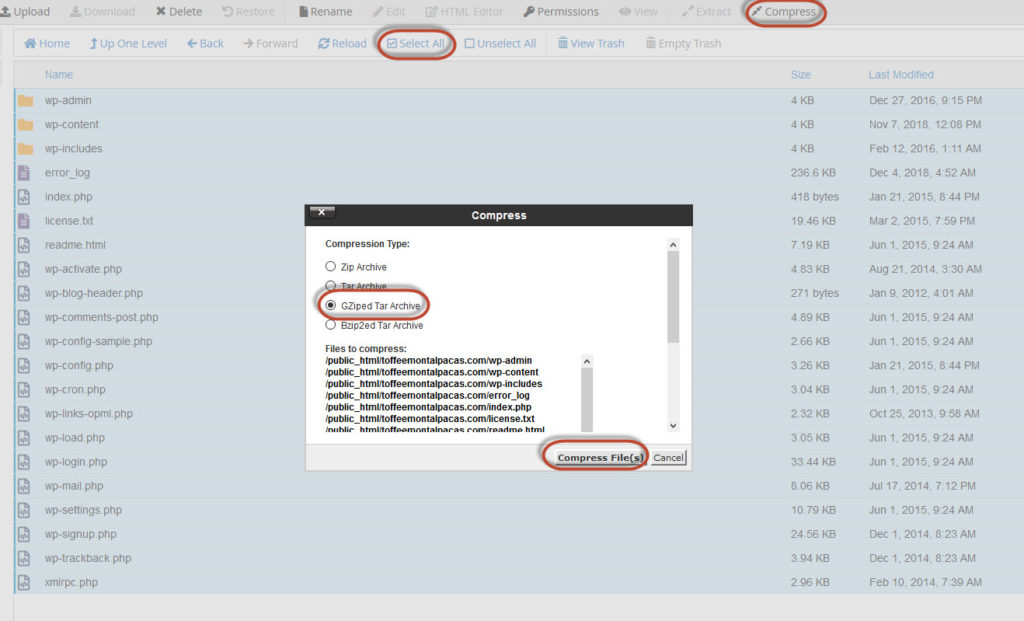
Once we click the Public HTML folder you should see the content that make up WordPress. The wp-admin, wp-content and wp-includes folders along with 18 or so html and php files.
Use the select all button in file manager, then compress, select GZipped Tar Archive and compress files. If you like you can name the archive so you can easily identify it. I typically call it oldsite.
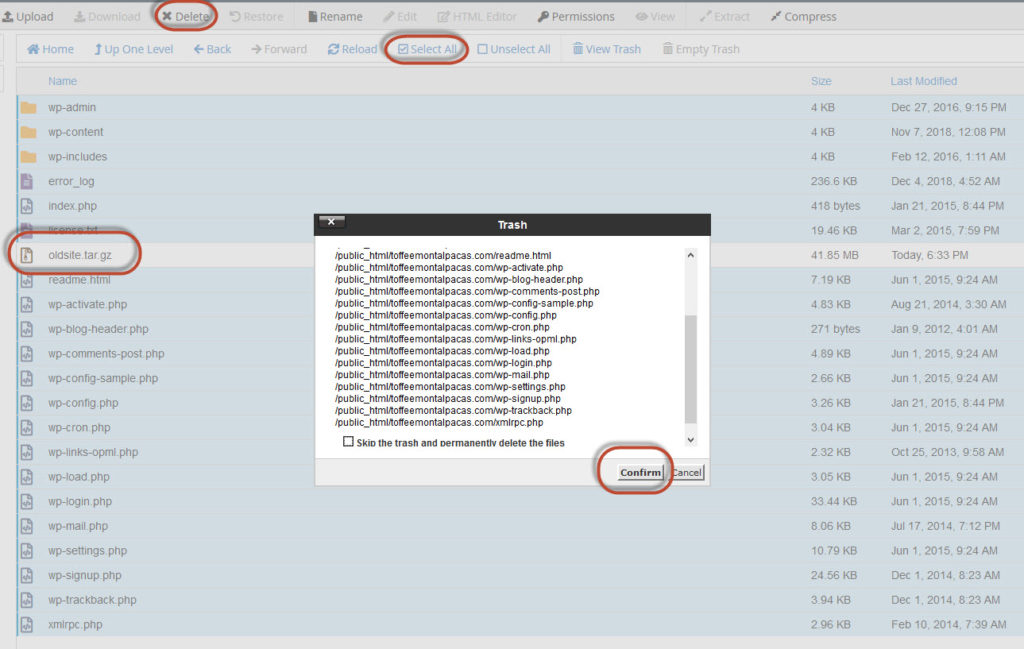
Moving on we nee to empty home directory of the old WordPress Files. If your server only runs your website, you can use the select all and then deselect the oldsite archive. Once the WordPress files have been trashed the only file remaining is our backup.
Be sure to double check any other files or folders on your server that are unrelated to WordPress, you could have a web based crm, or analytical application hiding in a folder in the home directory. The most common folder we see is usually email signatures. Be sure to deselect these so you don’t accidentally delete them.
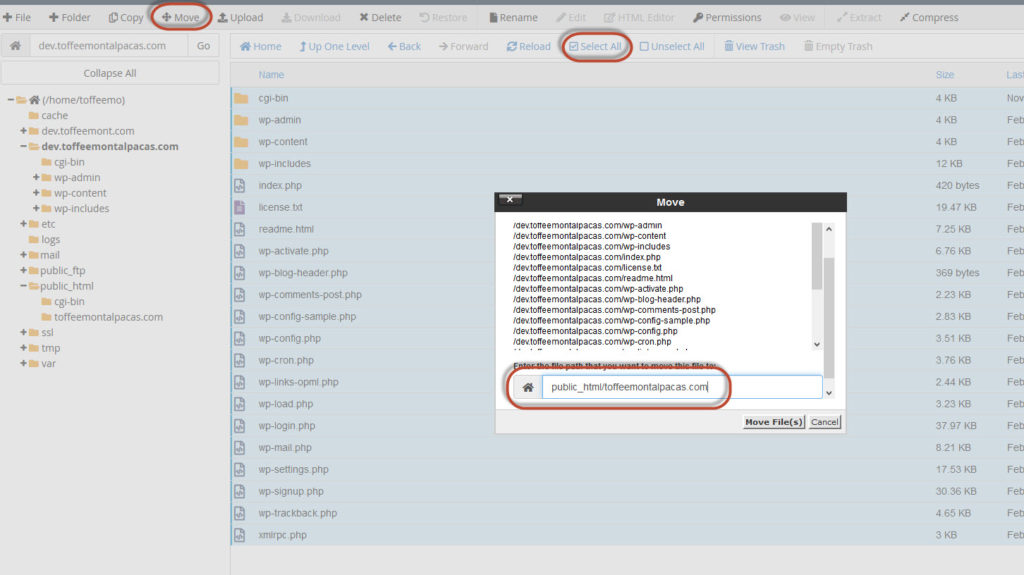
Next we need to copy the path of the public html folder from the top left, and then navigate to our dev folder.
From the dev folder, select all the WordPress, then the move command. Once the move dialog box opens, paste the path to the public html folder that we copied on the previous screen.
Congratulations the new website is launched. Your move a WordPress Website from a subdomain is completed. Once finished, Check that your website URL and your newly launched website are is now live and loading.
Step 5: Final Post Launch Checks
First of all ensure your new website is loading under the correctly. Make sure you can log into the WordPress admin panel.
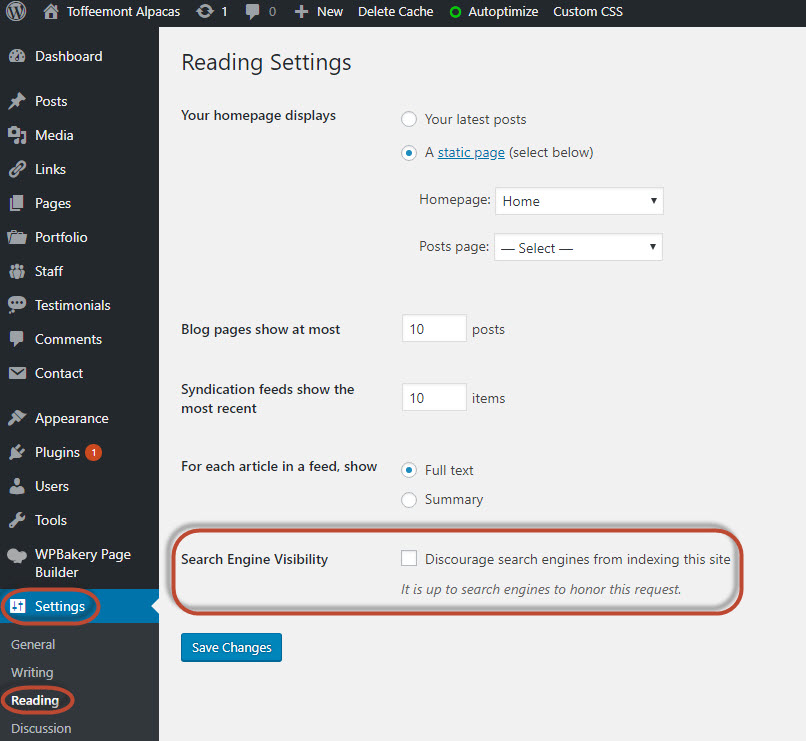
Most dev websites are set to “No Index” which tells Google, Bing, Yahoo and other search engines to hide your website from search results. Don’t forget to remove this by navigating to Settings>Reading and then unticking the “Discourage search engines” box.